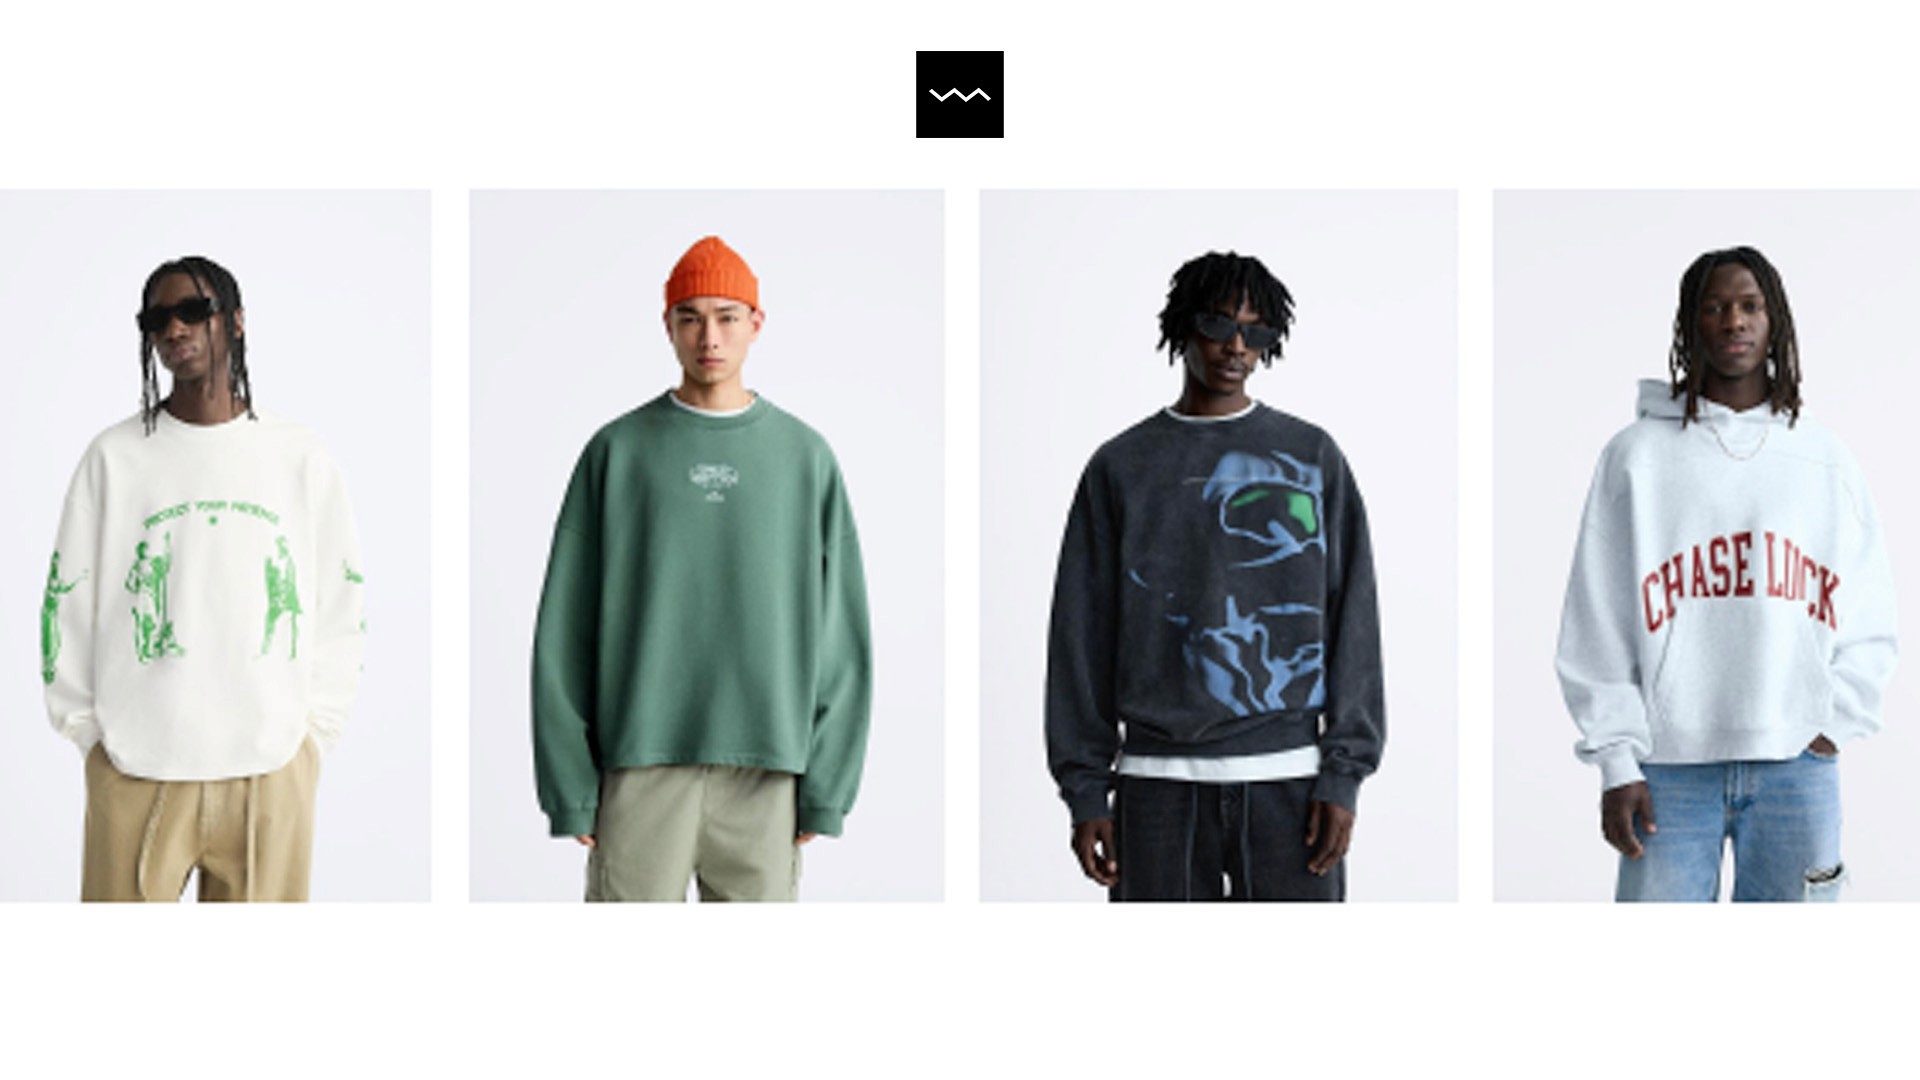
With retail apparel, the process of designing, developing, and manufacturing high-quality products can often feel overwhelming. From ideating and creating compelling designs to navigating complex production logistics, the path to bringing a product to market is filled with challenges and potential pitfalls.
For brand owners and private label buyers, understanding this journey is critical—not just for producing world-class apparel but for doing so efficiently, profitably, and at scale.
At White Label MFG, we have spent years perfecting this process. With experience spanning multiple tiers of the market—from boutique specialty stores to large-scale national retailers—we’ve honed the art and science of apparel production. Through trial, error, and continuous innovation, we’ve developed a proven system that delivers exceptional results at every stage of the product lifecycle.
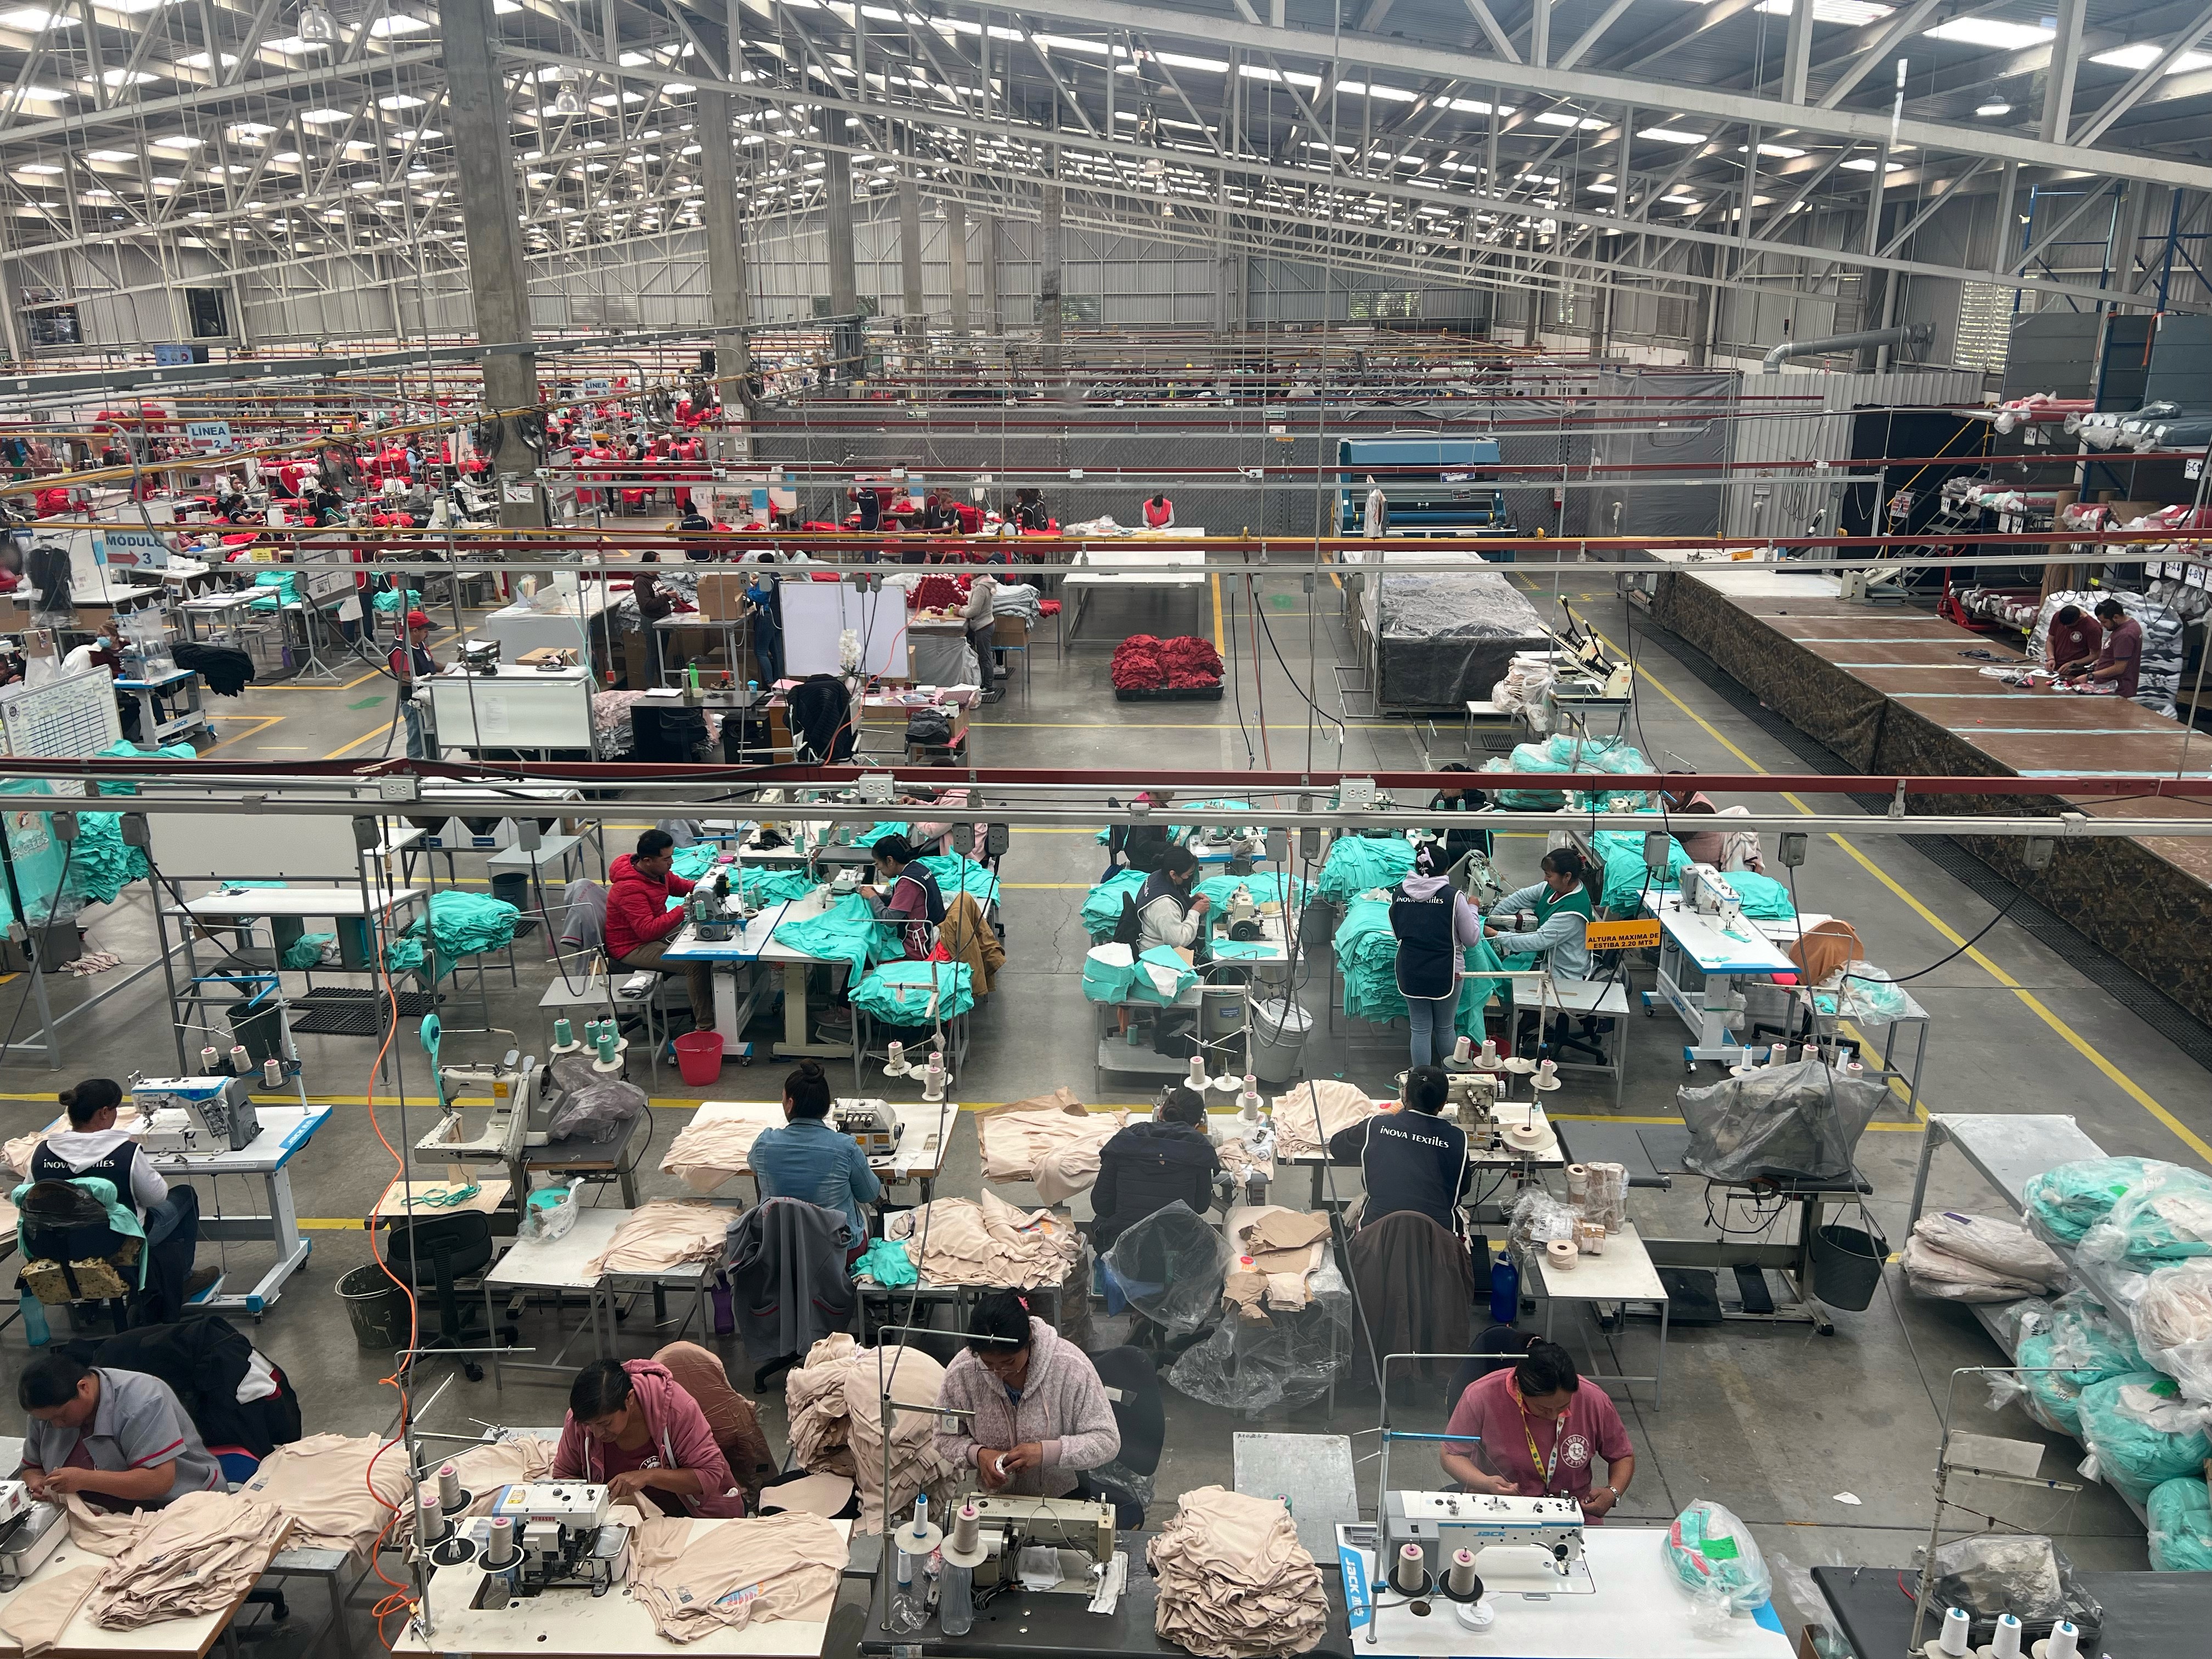
This article is your definitive guide to the entire process of apparel production. We will take you through each step, offering deep insights into the complexities of design, development, and manufacturing. Whether you’re creating a private label collection or producing branded apparel for retail, you’ll gain a clear understanding of what it takes to succeed in this industry.
What You’ll Learn in This Guide:
How to move from creative ideation to tangible products through CAD design and mood boarding.
The intricacies of financial setup, including applying for NET terms to optimize cash flow.
What goes into sampling, adjustments, and transitioning to bulk production.
The critical role of trims, packaging, and compliance in creating retail-ready products.
How White Label MFG handles distribution from our Irvine, CA warehouse to retail locations nationwide.
Common pitfalls in managing production independently—and how White Label MFG’s expertise can help you avoid them.
By the end of this guide, you’ll not only understand the full scope of what’s involved but also feel confident in partnering with White Label MFG for your apparel manufacturing needs. Let’s dive in and explore how you can bring your vision to life while navigating the complexities of this process with ease.
I. Creative Direction: Ideation and Mood Boarding
The first step in creating a successful apparel line is defining the creative vision. This stage is where ideas take shape, establishing the foundation for products that align with your brand identity and resonate with your target market. A thoughtful approach at this phase ensures that the rest of the production process flows seamlessly, from design to distribution.
Starting the Process: From Concept to Strategy
Creative ideation begins with clarity around your brand’s goals and audience. Some key considerations include:
Who is your target audience, and what are their preferences?
Which market trends are relevant to your product, and how can they inspire your designs?
What can make your apparel stand out in a competitive retail environment?
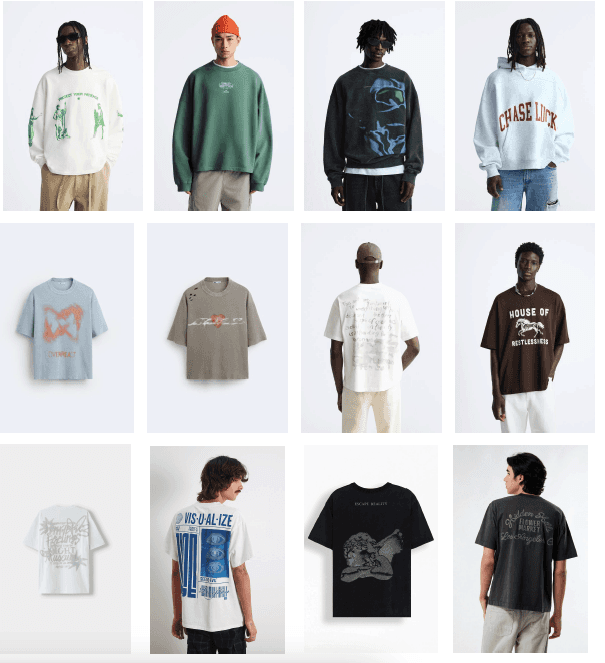
This is the phase where vision meets strategy, blending aesthetic inspiration with practical insights to produce a product direction that’s both bold and market-ready. Mood boards play an essential role in this process, bringing together colors, patterns, materials, and themes to create a cohesive framework for your collection. These boards ensure that everyone involved—designers, manufacturers, and retailers—works from the same blueprint.
Using Market Products for Reference
To bridge the gap between conceptual ideas and actionable designs, reference products from the market are invaluable. By identifying existing products that capture elements of your vision, you can define the following key details:
Fit: Whether it’s the oversized streetwear look, athletic cuts, or tailored silhouettes.
Fabrication: Premium materials, unique textures, or specific blends that align with your goals.
Trims and Finishings: Examples of woven labels, hang tags, embossed details, or other distinguishing features.
Special Finishes: Techniques like garment dyeing, vintage washes, or puff prints that add depth to the final product.
These references provide tangible examples to guide the design process, making it easier for designers and factories to understand and execute your vision. Including detailed notes in the tech packs ensures that the factory can replicate or adapt these features accurately.
The Importance of Collaboration
A successful creative direction is not only about creativity but also about strategy and alignment. Collaborating with experienced professionals ensures that your ideas translate into a cohesive plan. Incorporating insights from reference products, trend analysis, and retailer expectations can make the difference between a good product and a standout one.
II. Initial CAD Design and Graphic Design
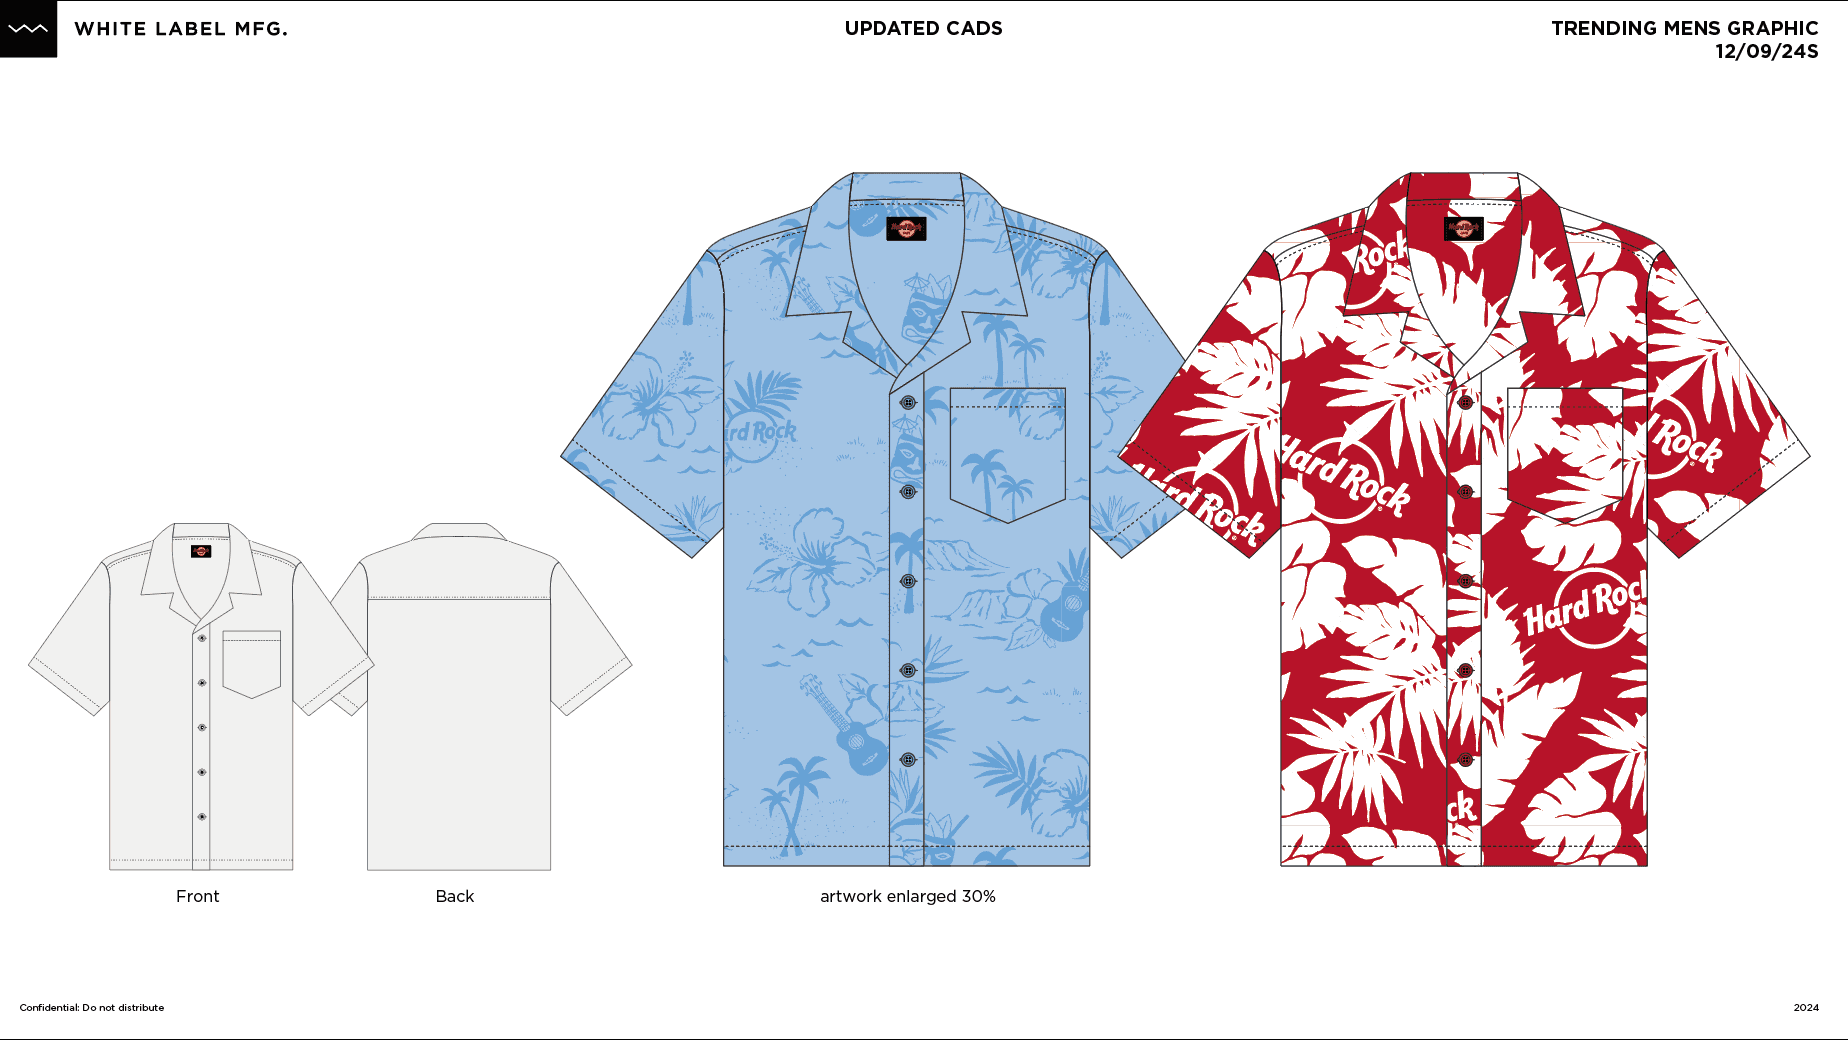
Once the creative direction is established, the next step is translating your vision into tangible designs. This phase involves creating detailed CADs (computer-aided designs) and graphic assets that serve as the blueprint for the product’s development. CAD designs are the technical language of the apparel world, bridging the gap between creative ideation and manufacturing precision.
What is CAD Design, and Why Does it Matter?
CAD designs are digital illustrations that provide a detailed representation of your apparel. These designs go beyond aesthetics, incorporating precise measurements, construction details, and material specifications. They ensure that everyone involved in the production process—from designers to manufacturers—shares a clear understanding of the product’s requirements.
Key elements of CAD designs include:
Fit Details: How the garment should fit the wearer (e.g., oversized, slim, tailored).
Construction Specifications: Information on seams, hems, and stitch types.
Material Notes: Fabric weights, blends, and finishes.
Colorways: Options for different color combinations.
CADs act as the foundation for tech packs, which are detailed documents sent to factories to guide the production process.
Bringing Graphics to Life
For apparel that incorporates graphics, this phase also involves developing artwork that reflects your brand’s identity and resonates with your target audience. Whether it’s logos, illustrations, or text-based designs, graphics add a layer of personality to your products.
Graphic design considerations include:
Placement: Positioning on the garment, such as chest prints, sleeve prints, or back designs.
Techniques: Options like screen printing, puff printing, embroidery, or sublimation.
Color Consistency: Ensuring color accuracy across production.
Strong graphic design aligns with both your creative vision and the technical requirements of production, reducing the risk of misinterpretation or errors during manufacturing.
The Role of Reference Products in Design
Reference products identified during the creative direction phase come into play here. By examining these products, designers can refine CADs and graphics to replicate or adapt specific features. For example:
Adjusting fit dimensions to match a popular streetwear silhouette.
Incorporating fabric characteristics, such as stretch or texture, into the design notes.
Translating trim and finishing details into actionable specifications for tech packs.
These references ensure that your designs maintain a balance between creativity and feasibility, ultimately streamlining the production process.
How the Process Comes Together
This stage requires a close partnership between you and the design team to ensure that CADs and graphics accurately reflect your vision. Communication is key, as even small details like graphic placement or seam type can have a significant impact on the final product.
Takeaway:
The CAD and graphic design phase transforms your creative vision into a detailed, actionable plan. By focusing on precision and clarity, this step ensures that your designs are not only aesthetically compelling but also technically sound, setting the stage for a smooth transition into sampling and production.
III. Financial Setup: Applying for Credit Terms
Manufacturing high-quality apparel at scale requires significant financial planning. For many brand owners and private label buyers, managing cash flow during the production process can be a challenge. This is especially true for high-volume projects, where upfront costs for materials, sampling, and production can be substantial. At this stage, securing credit terms is a strategic move that ensures your resources are allocated efficiently and production timelines remain uninterrupted.
The Cash Flow Challenges of Manufacturing
Manufacturing apparel, particularly at large volumes, involves considerable upfront costs:
Sampling and Prototyping: Expenses for creating pre-production (PP) and top-of-production (TOP) samples.
Bulk Production Costs: Payments for raw materials, labor, and factory operations.
Trims and Packaging: Costs for woven labels, hang tags, polybags, and retail-ready packaging.
Logistics: Freight charges for shipping products to distribution centers or retail locations.
For businesses with limited cash reserves, these costs can strain operations, especially when dealing with long lead times between production and revenue generation.
How Credit Terms Provide Flexibility
Applying for credit terms—such as NET 30, NET 60, or NET 90—allows you to defer payment for goods until after they are delivered. This financial arrangement offers several benefits:
Improved Cash Flow: Free up capital to invest in other areas, such as marketing or additional inventory.
Scalability: Manage larger orders without the immediate financial burden.
Alignment with Revenue Cycles: Pay for goods after selling them, reducing the gap between costs and profits.
For many brands, this flexibility is a game-changer, enabling them to scale operations and take on larger retail opportunities without being limited by cash flow constraints.
The Credit Application Process
At this stage, you’ll need to establish a financial relationship with your manufacturer by applying for credit terms. While the process varies between companies, here’s what to generally expect:
Submission of Financial Information:
Business financial statements.
Bank references and credit history.
Evaluation:
The manufacturer assesses your creditworthiness to determine the terms they can extend.Approval and Setup:
Once approved, you’ll be granted payment terms (e.g., NET 30), which you can use for future orders.
Best Practices for Financial Setup
To ensure a smooth application process and maintain a strong financial relationship:
Maintain Transparency: Provide accurate and detailed financial information.
Establish a Positive History: Start with smaller orders and demonstrate reliability by paying on time.
Plan for Growth: Use credit strategically to scale your production without overextending.
How This Ties into Production
With credit terms in place, you’ll have the financial flexibility to focus on other aspects of the production process, such as sampling and bulk manufacturing. This ensures that your project moves forward without delays caused by cash flow issues, keeping production on schedule and maintaining momentum.
Takeaway:
Securing credit terms is an essential step in managing the financial complexities of apparel manufacturing. By partnering with a manufacturer that offers flexible terms, you can streamline your cash flow, scale your production, and position your business for growth—all without compromising on quality or timelines.
IV. Development Process: Sampling and Adjustments
The development process is where your vision begins to take tangible shape. It is a meticulous phase where creative concepts transition into physical products, ensuring every detail aligns with your expectations and those of your customers. This stage is vital for bringing products to life, as it allows for fine-tuning and eliminating potential production issues before moving into bulk manufacturing. Skipping or underestimating this phase can lead to costly errors, delayed timelines, and subpar products that fail to meet market expectations.
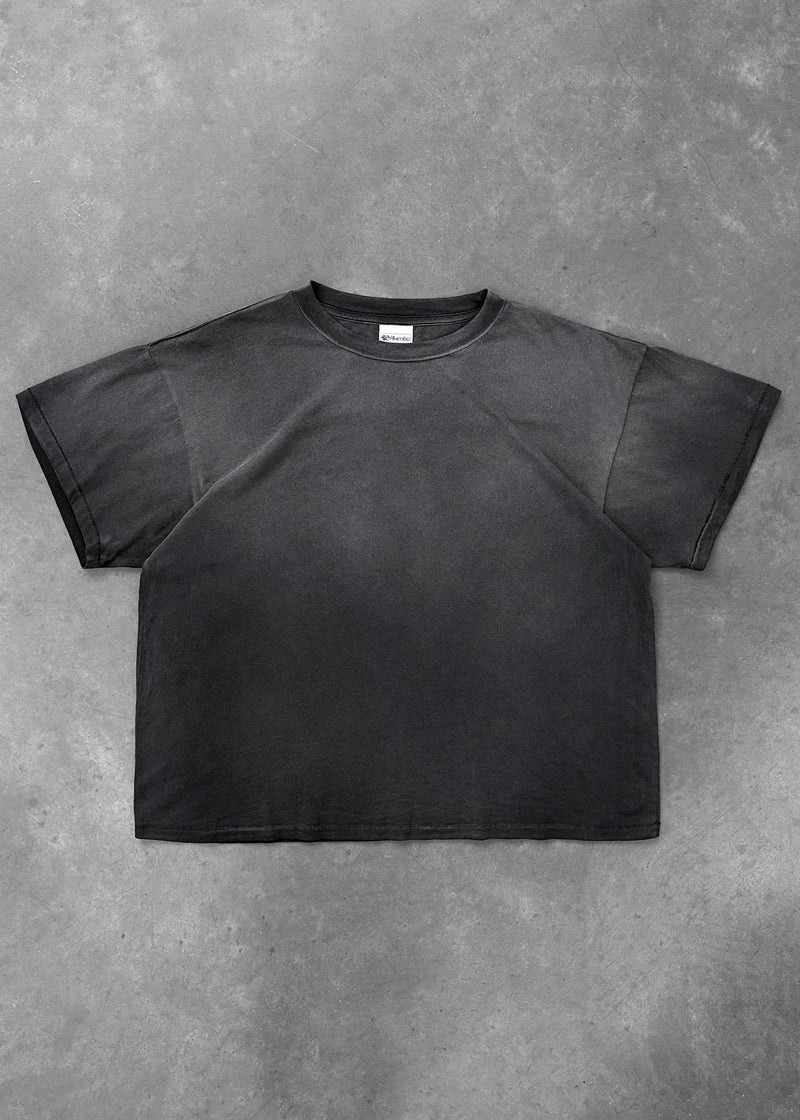
From CADs and Tech Packs to Samples
The journey from initial design to a production-ready garment starts with creating tech packs, the essential documents that serve as the blueprint for your product. A well-prepared tech pack ensures clarity and consistency throughout the sampling and production process. These documents typically include:
Detailed CAD Drawings: Provide visuals for the garment’s construction, including fit, seams, and design features.
Measurement Charts and Grading Rules: Outline precise dimensions for all sizes to maintain consistency.
Material Specifications: Specify fabrics, trims, and other components, including details like weight, texture, and finishes.
Print and Embellishment Details: Include exact placements, dimensions, and techniques for screen prints, embroidery, or appliques.
Factories use these tech packs as the foundation for creating samples, ensuring that the product is developed as envisioned.
Key Stages of the Sampling Process
Proto Samples (Prototypes):
The first physical iteration of your design, a proto sample is created to test the feasibility of the garment. At this stage, the focus is on:Fit and Construction: Does the garment fit as intended? Are seams and finishing techniques achievable?
Material Testing: Does the fabric perform as expected in terms of stretch, drape, or durability?
Initial Design Execution: Are the basic design elements translating well into a physical product?
Proto samples often reveal the need for adjustments to the tech pack, such as tweaks to measurements, fabric selection, or construction techniques. This process typically takes around 4 weeks, depending on the complexity of the design.
Pre-Production (PP) Samples:
Once adjustments from the proto sample are implemented, the PP sample is created. This is a refined version that reflects the finalized design. The PP sample is critical because:It sets the benchmark for bulk production.
It includes final trims, graphics, and construction details.
It ensures all adjustments made after the proto sample are accurately executed.
At this stage, you’ll carefully review every element, from fit and fabrication to trims and graphics, as this sample will serve as the standard for production. The process for PP samples takes 2–4 weeks.
Top of Production (TOP) Samples:
Once bulk production begins, TOP samples are pulled directly from the production line. These samples confirm that the production run matches the approved PP sample. They serve as the final quality check before products are shipped.
Collaborative Adjustments: The Key to Success
Sampling is not a one-and-done process—it is iterative by nature. Each round of samples provides an opportunity to refine the product, ensuring it meets your creative vision and technical requirements. Effective adjustments involve collaboration across multiple parties:
Brand Owners: Provide clear feedback on fit, graphics, trims, and overall execution.
Designers: Implement adjustments and update tech packs as needed.
Factories: Execute changes and maintain clear communication to avoid discrepancies.
During this phase, it’s essential to review every detail, including:
Fit and Sizing: Does the garment fit well across all sizes, and is the grading consistent?
Material and Trims: Are the fabric and trims performing as intended in terms of quality and aesthetics?
Prints and Embellishments: Are graphics and embellishments accurately placed and meeting design expectations?
This stage ensures alignment among all stakeholders, reducing the risk of issues in the bulk production phase.
Timelines and Planning Ahead
Sampling timelines are highly dependent on the complexity of the product, the availability of materials, and the responsiveness of the feedback loop. On average, here’s how long each stage takes:
Proto Sample: ~4 weeks.
Pre-Production (PP) Sample: 2–4 weeks after proto adjustments.
TOP Sample: Available once bulk production begins.
Building these timelines into your overall production schedule is critical for meeting delivery deadlines.
Why Sampling is Critical to Bringing Products to Life
The sampling process is about more than just creating physical garments. It’s an opportunity to bring your creative vision into the real world, test its feasibility, and ensure it’s ready for the demands of the retail market. Through sampling, you:
Identify and Resolve Issues Early: Catching problems in fit, quality, or construction at the sampling stage prevents costly mistakes during bulk production.
Align Expectations: Sampling ensures that all stakeholders are on the same page, from designers to manufacturers.
Establish Standards: Each sample stage serves as a benchmark, guiding the factory to deliver consistent results in production.
The Role of Expertise in Sampling
Navigating the sampling process requires a blend of creative and technical expertise. Without the right guidance, brands risk wasting time and resources on miscommunications, poor execution, or delays. A systematic approach to sampling ensures the final product not only meets expectations but exceeds them.
Takeaway:
Sampling is where your ideas transform into reality. This phase is the foundation of a successful product, ensuring that what you envisioned during the design process translates seamlessly into a retail-ready garment. By dedicating time and attention to sampling, you create a roadmap for quality, consistency, and success in bulk production.
V. Bulk Production: From Blanks to Full Cut-and-Sew Products
Bulk production is the phase where designs are transformed into finished products at scale. Whether you’re leveraging pre-made blanks or opting for fully customized cut-and-sew garments, this process ensures your apparel is ready for retail distribution. Each method has unique advantages and considerations, from sourcing materials to ensuring quality and consistency.
Printing on Blanks: A Streamlined Solution
For many brands, printing on blanks is an efficient and cost-effective way to bring designs to life. This approach involves sourcing pre-made garments from established blank manufacturers or distributors and sending them to a screen printing or embellishment facility for customization.
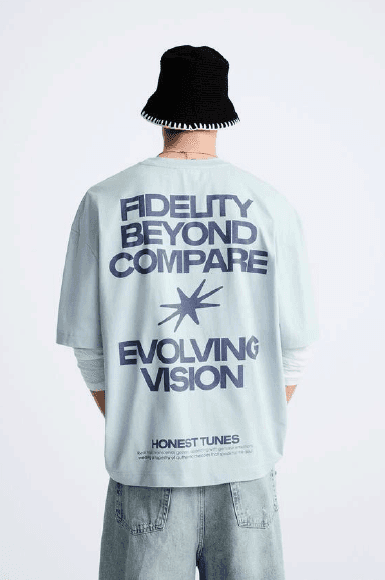
Sourcing Blanks
Blanks can be purchased directly from manufacturers like Gildan, American Apparel, or Bella + Canvas, offering specific product lines and styles. Alternatively, distributors like S&S Activewear or San Mar aggregate a wide variety of blank options, making it easy to find garments that match your needs for fit, fabric, and price point.
Ideal for: T-shirts, hoodies, or products where speed and cost-efficiency are priorities.
Customization Techniques
After sourcing, the blanks are sent to specialized facilities for printing or embellishments. Common techniques include:
Screen Printing: Ideal for high-volume, high-quality prints.
Embroidery: For logos or detailed designs.
Sublimation: For polyester garments and all-over prints.
Lead Times and MOQs
Printing on blanks typically has a lead time of 4–6 weeks with minimum order quantities (MOQs) ranging from 300–600 units, depending on the complexity of the design and embellishments.
Full Cut-and-Sew Production: Total Customization
For brands seeking complete control over their product’s design, fabric, and construction, cut-and-sew production offers unmatched flexibility. This process begins at the raw material level and involves several detailed stages to create a fully customized garment.
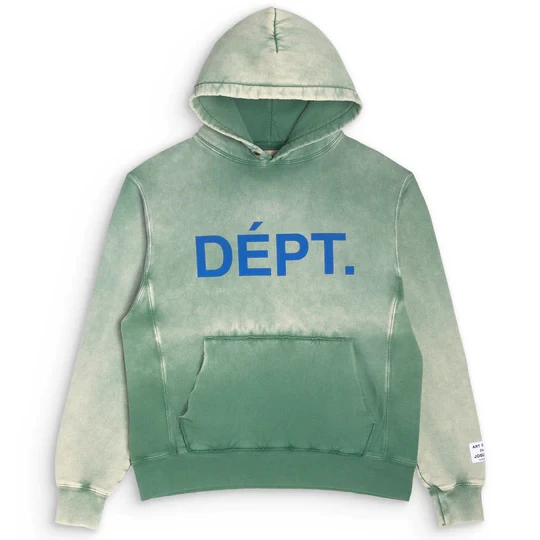
Fabric Creation
Yarn Production: Mills create yarns tailored to the desired fabric composition (e.g., cotton, polyester blends, or performance fabrics).
Knitting or Weaving: Yarn is knitted or woven into fabric, setting the foundation for texture, stretch, and weight.
Fabric Dyeing and Finishing
Fabric is dyed to achieve the desired color, and additional finishes may be applied, such as moisture-wicking treatments or softening washes.
For unique needs, such as custom colors or patterns, fabric development can add an additional 4 weeks to the timeline.
Cutting and Printing
Large sheets of fabric are cut into patterns based on tech pack specifications.
Pieces are printed, embroidered, or otherwise embellished before assembly.
Assembly and Trims
The garment is sewn together, incorporating features like pockets, linings, or additional design elements.
Trims, such as woven labels, hang tags, and branded details, are applied to create a finished look.
Packout and Inspection
The finished garments are inspected for quality and packed according to client or retailer specifications, ensuring compliance with shipping and retail guidelines.
Lead Times and MOQs
Cut-and-sew production typically requires 8–12 weeks for completion with MOQs of 600–1200 units per style.
For garments using custom-developed fabrics, add an additional 4 weeks to account for sourcing, dyeing, and finishing.
Ideal for: High-end or unique garments where complete customization is essential.
Ensuring Quality and Consistency in Bulk Production
Regardless of the production method, quality control is critical. Key steps include:
Pre-Production Approvals: Review of TOP (Top of Production) samples to ensure alignment with expectations.
On-Site Inspections: Regular checks during production to catch and address issues early.
Post-Production Checks: Final inspections to verify consistency in stitching, printing, and finishing.
Takeaway:
Choosing the right production method is critical to achieving your goals. Whether you’re customizing blanks for speed and cost-efficiency or diving into full cut-and-sew for complete control, understanding the intricacies of bulk production ensures your products are ready to excel in the retail market.
VI. Packout and Shipping: Trims, Packaging, and Compliance
Once garments are produced, the focus shifts to preparing them for distribution. The packout process ensures that each product is finished with the right trims, packaged according to retail requirements, and shipped in compliance with regulations. This phase is just as critical as production—overlooking even small details can lead to delays, retailer rejections, or logistical inefficiencies.
The Role of Trims in Finalizing Products
Trims are the finishing touches that elevate a product’s perceived value and reinforce brand identity. Each piece must align with the brand's vision while meeting retailer specifications. Common trims include:
Woven Labels: Typically sewn into the neckline or exterior of the garment, providing branding and care instructions.
Hang Tags: Attachments that communicate pricing, product details, or marketing elements.
Decorative Trims: Features such as clamp tags, patches, or embossed appliques that add a premium feel.
The placement and design of trims are specified in the tech pack to ensure accuracy during the application process. Factories apply these trims during the final stages of assembly, making them a seamless part of the product.
Retail-Ready Packaging
Packaging is not only functional but also an opportunity to reinforce brand identity. The packaging process involves preparing each product to meet the requirements of both the brand and the retailer. Key considerations include:
Polybags: Garments are individually packed to protect them during shipping. Bags may include printed barcodes, logos, or compliance information.
Size Stickers: Essential for ensuring size visibility on folded products.
Custom Packaging: Options like branded boxes or tissue paper for higher-end retail presentation.
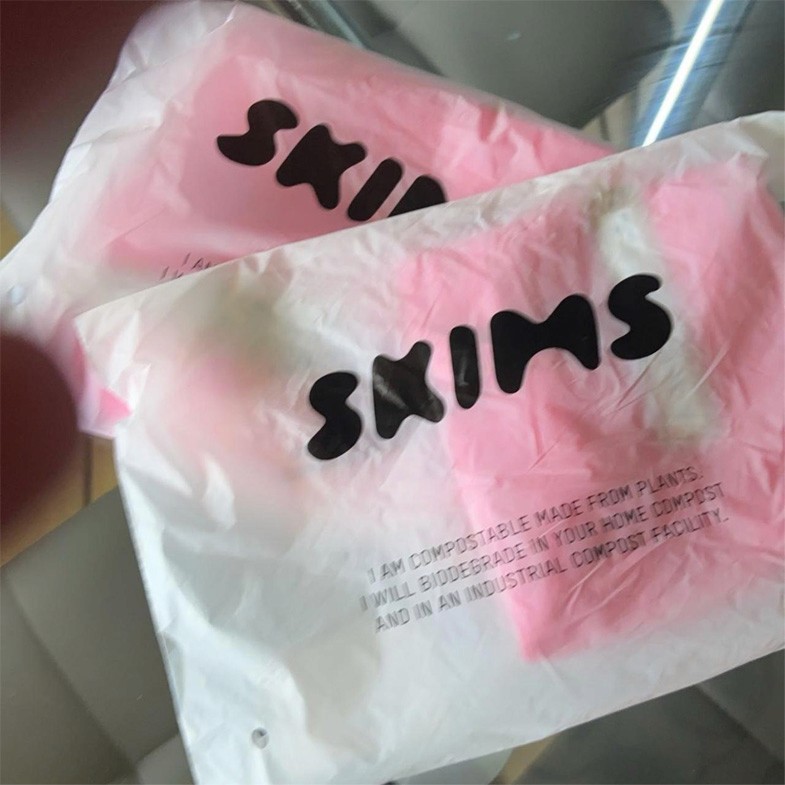
Retailers often have strict packout guidelines, specifying details such as how garments are folded, the order they are packed, and the information displayed on packaging. Following these guidelines is essential for ensuring smooth acceptance at distribution centers or retail locations.
Compliance for Shipping and Distribution
Shipping products across borders or to large-scale retailers requires adherence to strict compliance standards. Non-compliance can lead to rejected shipments, customs delays, or fines. Common compliance requirements include:
Labeling Standards: Ensure all required information—such as country of origin, care instructions, and fiber content—is included and correctly placed.
Barcode Accuracy: Retailers rely on scannable barcodes for inventory management. Inaccurate or missing barcodes can disrupt their operations.
Shipping Documentation: Proper invoices, packing lists, and customs forms are crucial for smooth transit.
To streamline this process, production partners with experience in global logistics and retailer compliance are invaluable.
White Label MFG’s Packout Process
Our team manages the packout phase to ensure every product meets your specifications and is ready for seamless distribution. Key steps include:
Trim Application: We oversee the precise application of trims, ensuring consistency and quality.
Packaging: Each garment is polybagged, labeled, and prepared in accordance with your brand or retailer’s packout guidelines.
Compliance Management: We handle all labeling and documentation to ensure products meet domestic and international shipping requirements.
Efficient Shipping and Distribution
Once products are packaged, they’re ready for shipping. This phase involves transporting finished goods to distribution centers, retail locations, or directly to the customer. Key logistical considerations include:
Warehousing: Products are often staged at a central location before distribution. At White Label MFG, we land products in Irvine, California, where they are prepared for nationwide distribution.
Shipping Options: Depending on the destination and timeline, shipments may be sent via freight, parcel, or ocean transport.
Cost Optimization: Consolidating shipments or selecting efficient carriers reduces costs while maintaining delivery schedules.
Why This Phase is Critical
Even the best-designed and produced garments can fall short if packout and shipping aren’t executed properly. Trims and packaging create the first impression for consumers, while compliance ensures that products flow smoothly through the supply chain. Neglecting these details can result in delays, increased costs, or damaged brand reputation.
Takeaway:
Packout and shipping are the final steps in turning your vision into a retail-ready product. By focusing on precise trim application, retail-compliant packaging, and efficient logistics, this phase ensures that your apparel is not only ready for the market but also delivered seamlessly to its destination. Proper execution at this stage reinforces your brand's professionalism and sets your products up for success in the hands of your customers.
VII. Common Pitfalls and How to Avoid Them
Apparel manufacturing is a complex process, and even with the best intentions, pitfalls can arise. From communication breakdowns to logistical inefficiencies, these challenges can derail timelines, inflate costs, and compromise product quality. Understanding these common obstacles—and knowing how to avoid them—can make the difference between a seamless production run and a costly disaster.
1. Poor Communication with Factories
Factories rely on clear, precise instructions to execute your vision. Misunderstandings or incomplete information can lead to:
Incorrect fit or sizing.
Improper application of trims or graphics.
Production delays caused by back-and-forth clarifications.
How to Avoid It:
Detailed Tech Packs: Provide comprehensive tech packs with clear instructions, including measurements, materials, and visual references.
Regular Check-Ins: Maintain open communication with factories through dedicated project managers or production liaisons.
Sampling Process: Use the sampling stage to iron out ambiguities and set a clear standard for production.
2. Inconsistent Quality Control
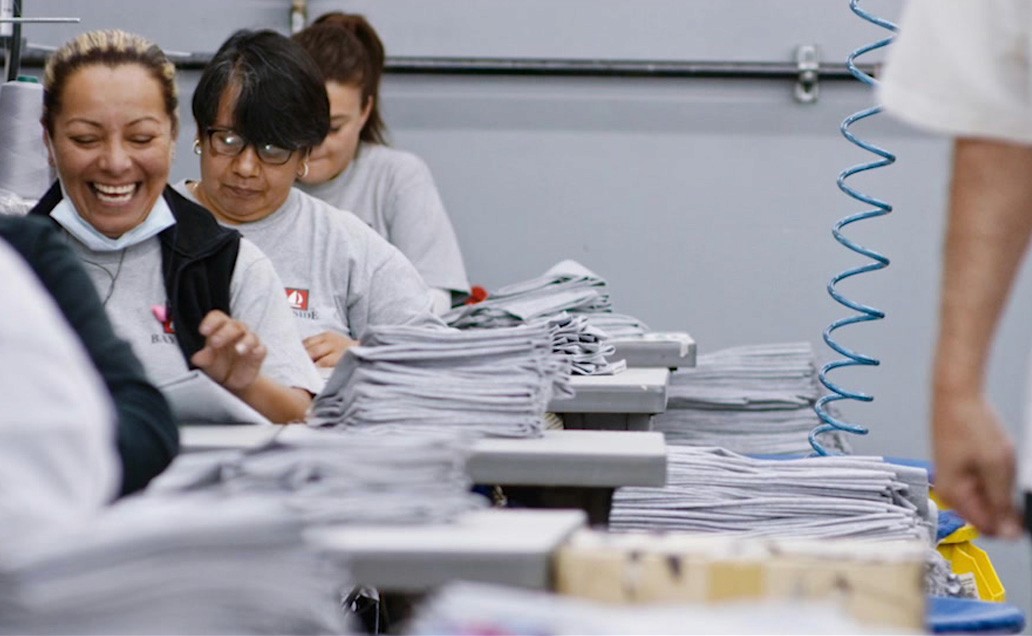
Without rigorous quality control, you risk receiving products with construction flaws, color inconsistencies, or missing details. This is especially common when working with multiple factories or relying on new production partners.
How to Avoid It:
Factory Vetting: Partner with manufacturers with proven track records for quality and reliability.
In-Process Inspections: Conduct inspections during production, not just after it’s completed.
TOP Samples: Use top-of-production samples to verify consistency before bulk production continues.
3. Unrealistic Timelines
Rushing production often leads to cutting corners, increased errors, or missing delivery deadlines. Brands that fail to account for lead times often find themselves scrambling to adjust plans.
How to Avoid It:
Realistic Planning: Build a production calendar that includes time for sampling, revisions, and bulk production.
Buffer Time: Factor in potential delays, especially for international production or custom fabric development.
Work with Experts: Partner with a production team that understands lead times and can anticipate potential bottlenecks.
4. Overlooking Logistics and Distribution
Even a perfectly produced product can face issues during shipping or distribution. Common challenges include:
High freight costs due to poorly planned shipping routes.
Customs delays caused by incomplete documentation.
Retailer rejections due to non-compliant packaging.
How to Avoid It:
Centralized Warehousing: Use a well-located distribution center to streamline shipping.
Logistical Expertise: Work with partners experienced in managing global freight and compliance.
Packout Compliance: Adhere strictly to retailer packaging and labeling requirements.
5. The Myth of the "One-Stop Factory"
Many believe a single factory can handle all aspects of production, from fabric creation to trims and final assembly. In reality, few factories specialize in every step, leading to inefficiencies and quality compromises.
How to Avoid It:
Specialized Partners: Work with manufacturers that excel in specific areas, such as fabric creation, cutting, or embellishments.
Coordinated Management: Ensure your production team can effectively manage multiple factories to create a cohesive final product.
Integrated Solutions: Partner with production experts who streamline the process by coordinating multiple suppliers.
How White Label MFG Solves These Challenges
With years of experience in the apparel manufacturing industry, White Label MFG is equipped to tackle these challenges head-on:
Clear Communication: Our detailed tech packs and project management processes eliminate misunderstandings.
Proven Quality Control: We conduct inspections at every stage of production to ensure consistency.
Realistic Timelines: Our transparent planning process keeps your project on schedule.
Streamlined Logistics: From warehousing in Irvine, CA, to compliance management, we handle distribution seamlessly.
Specialized Expertise: We manage relationships with a network of trusted factories, ensuring every aspect of production is handled by the best in the business.
VIII. Conclusion: Bringing It All Together
Manufacturing apparel for retail is a journey filled with complexity, creativity, and collaboration. From the initial spark of inspiration to the final product landing on store shelves, every step matters. At White Label MFG, we understand the challenges brands face and have built a system designed to simplify the process, ensuring world-class results every time.
Key Takeaways:
Invest in the ideation phase to set a strong foundation for your product.
Use precise CAD designs, tech packs, and samples to ensure clarity and consistency.
Plan for realistic timelines and leverage financial tools like credit terms to optimize cash flow.
Choose the right production method—whether printing on blanks or full cut-and-sew—to meet your goals.
Focus on quality control, compliance, and efficient logistics to avoid costly mistakes.
Partnering with the right production team can transform these challenges into opportunities. Whether you’re launching a private label line or scaling an established brand, White Label MFG has the expertise to guide you every step of the way.
Ready to bring your vision to life?
Let’s start the journey together. Contact us today to learn how White Label MFG can help you produce world-class apparel for any retail channel.
